I had a delightful request for a custom tool holder, and I may have gone a bit overboard. Please enjoy a lot of casual process photos.
Project goals:
- accommodate a range of unusually-sized fiber arts tools
- hand sewing only
- stash-busting whenever possible
- ivy theme
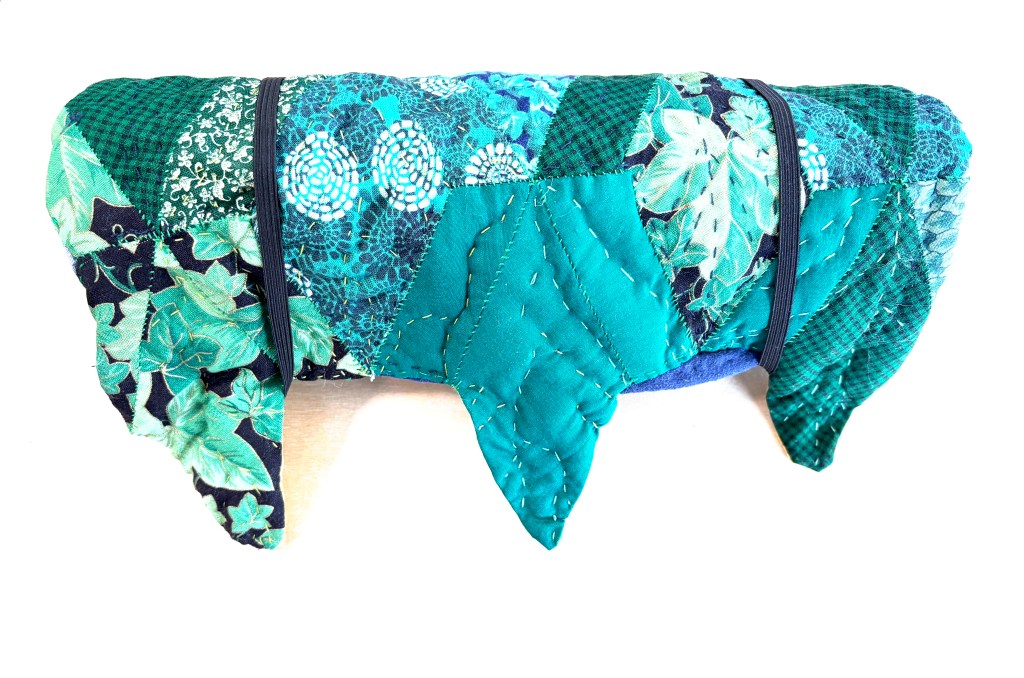
- appealing appearance whether rolled or unrolled
- complete by Christmas 2024
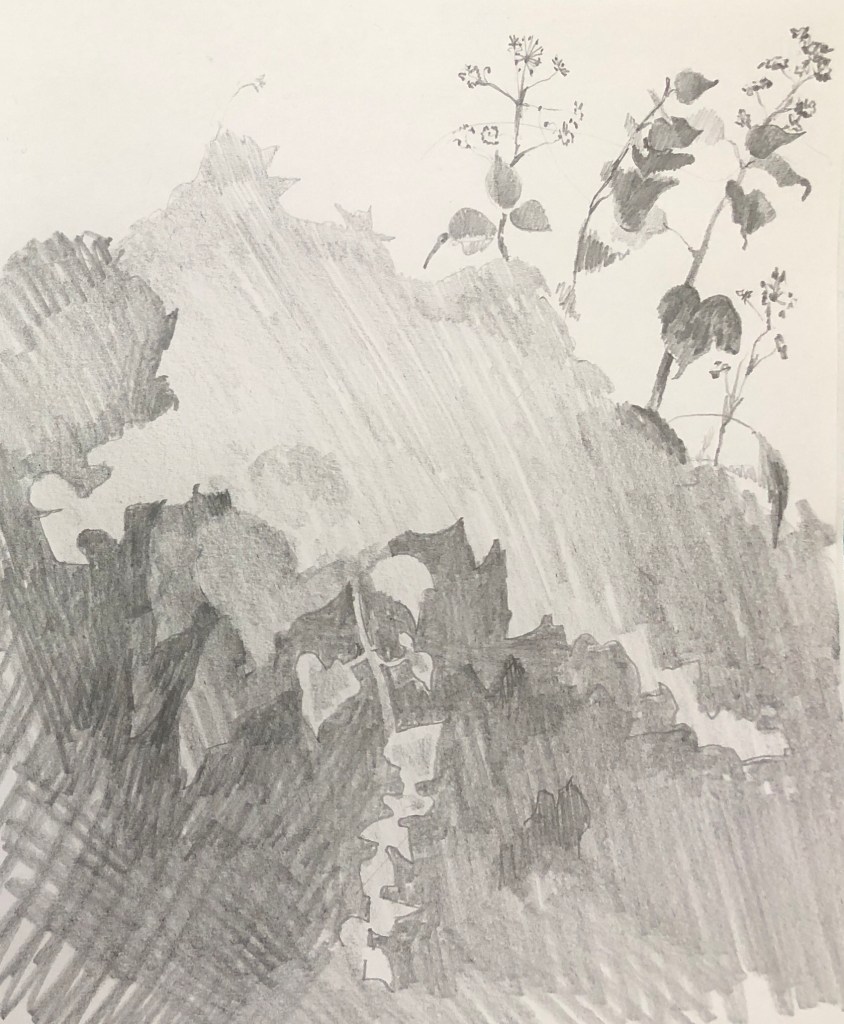
Process: planning
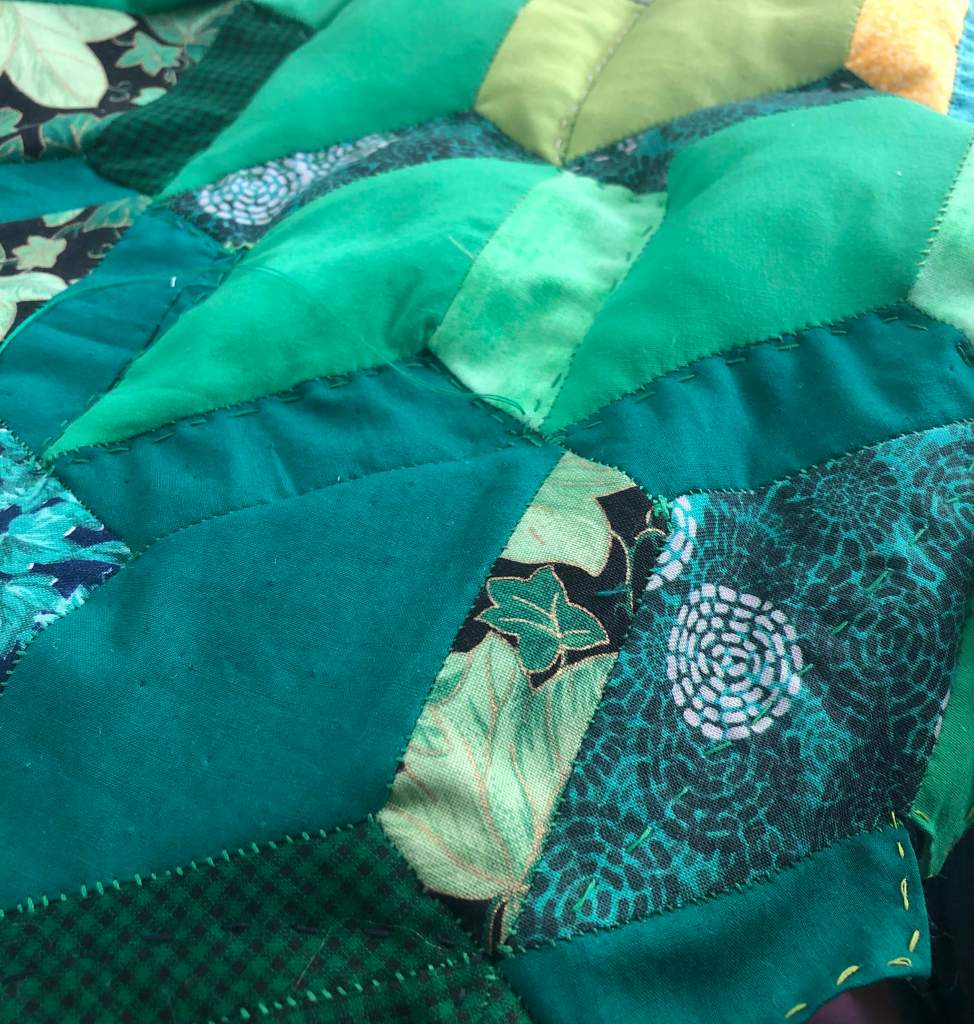
I quickly sketched some ivy. The thing that stood out to me was the way ivy climbing up a vertical surface can have a strong value gradient as layers of leaves shadow one another.
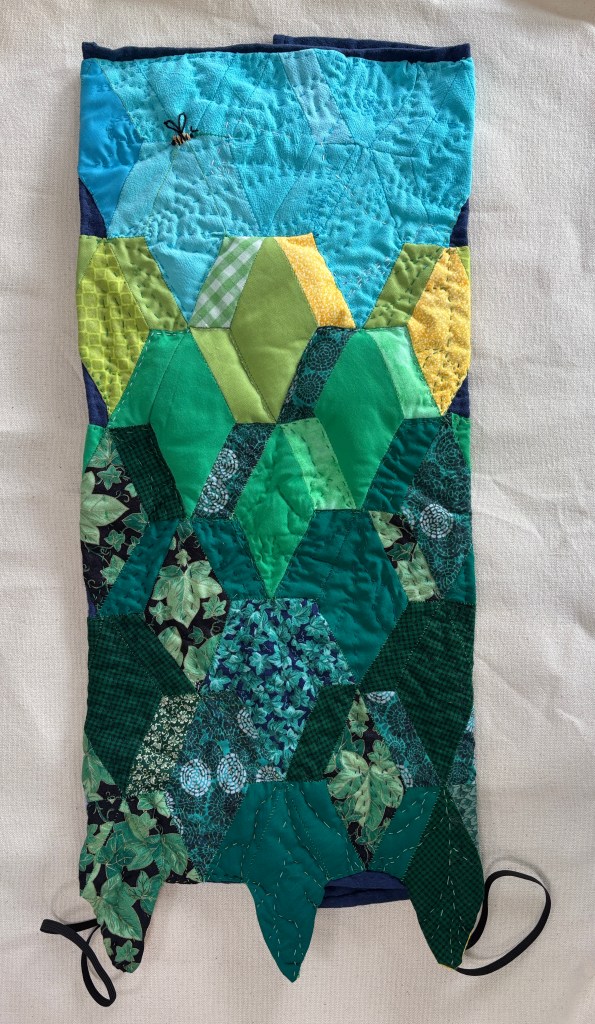
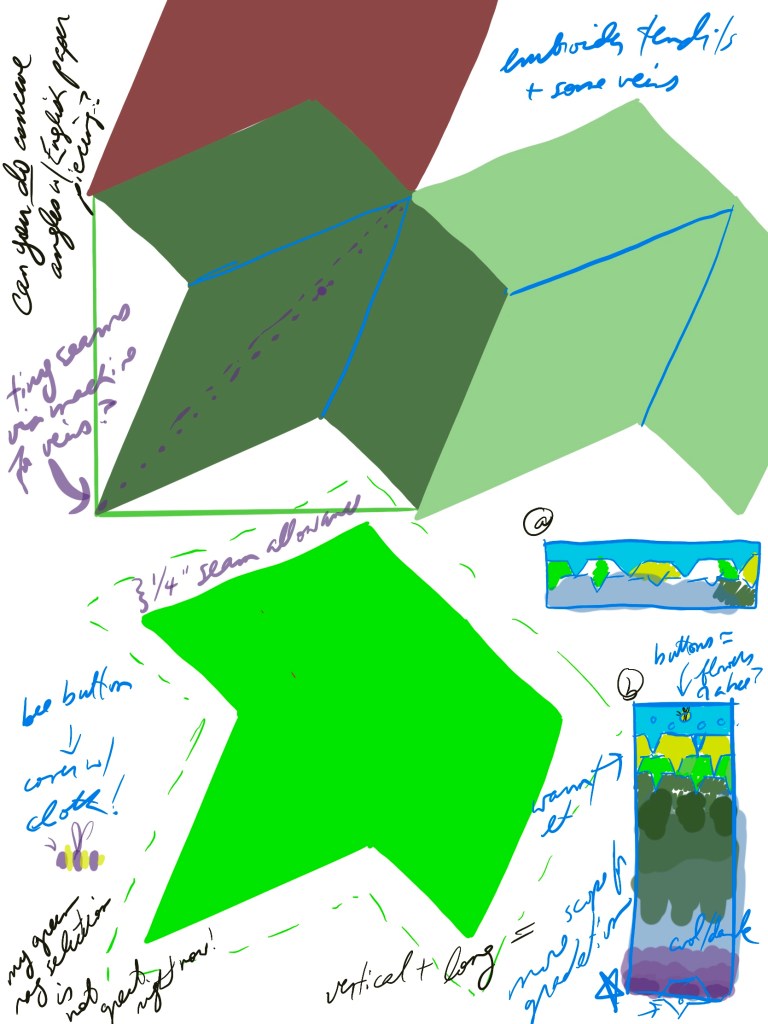
Since scrap-busting was one of my project goals, I needed to find ways to construct my ivy-themed tool holder from small pieces. I couldn’t find quilt blocks that resembled ivy, so I designed a tesselating pattern of my own. I was careful to break it down into pieces in order to avoid concave sections (because sewing those would be obnoxious at best).
Process: patchwork sewing
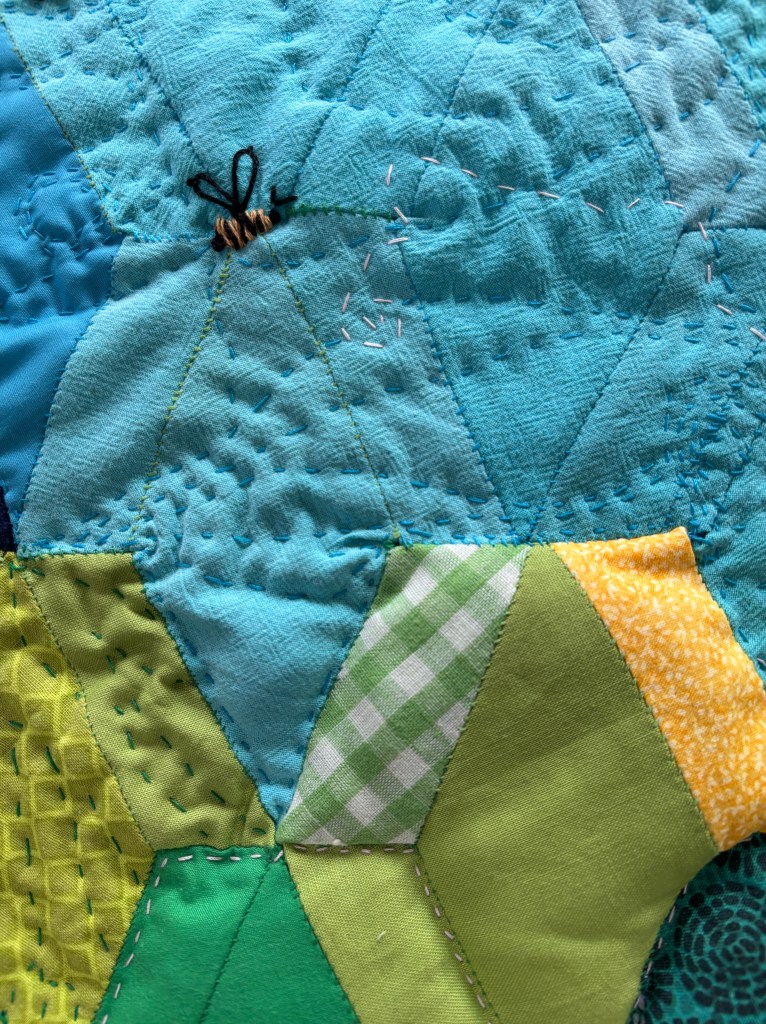
I came up with this pattern for English paper piecing. It is a slow process to sew these pieces together by hand, but it is a quiet process that keeps my hands busy during casual video calls. It’s a straightforward whip stitch on pieces with their right sides facing. I enjoy the resulting visible stitches.

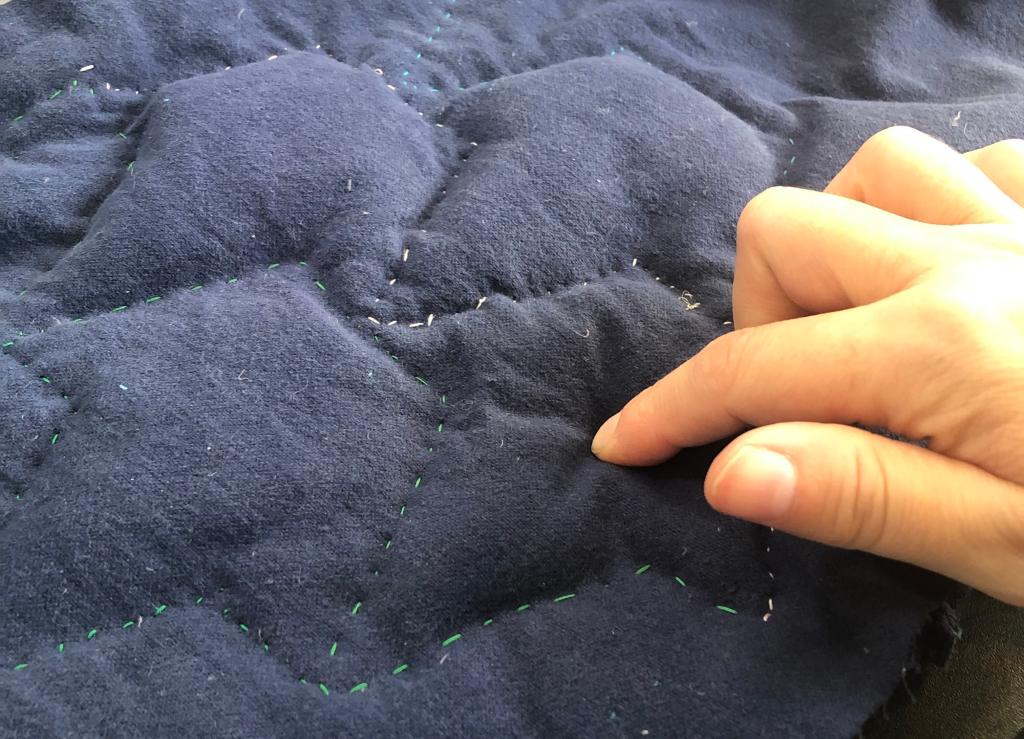
Process: lining and faux trapunto stuffing
I sewed some channels into the lining fabric and then carefully sewed the lining to the quilted ivy. The extra flap overlaps the tool pockets and should prevent them from falling out during transport. My photos only show crochet hooks in this tool holder, but it is meant to carry a variety of lace-making supplies as well.
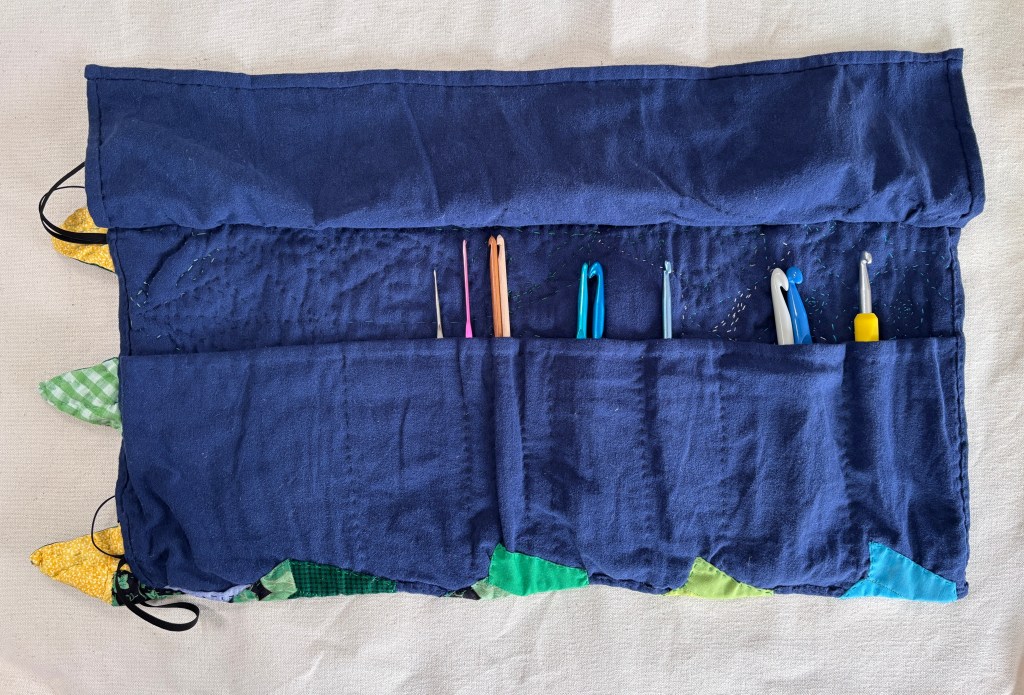
I added extra interfacing to the light-colored ivy sections that I wanted to project the most. I have a strong hunch that the recipient of this tool holder will enjoy this squishiness.
Process: attempting and rejecting lace embellishment
Quilting the irregular leaf veins somehow felt like it took longer than the patchwork phase. Some of that might be the time I wasted on tatted lace embellishments that I eventually decided against entirely.
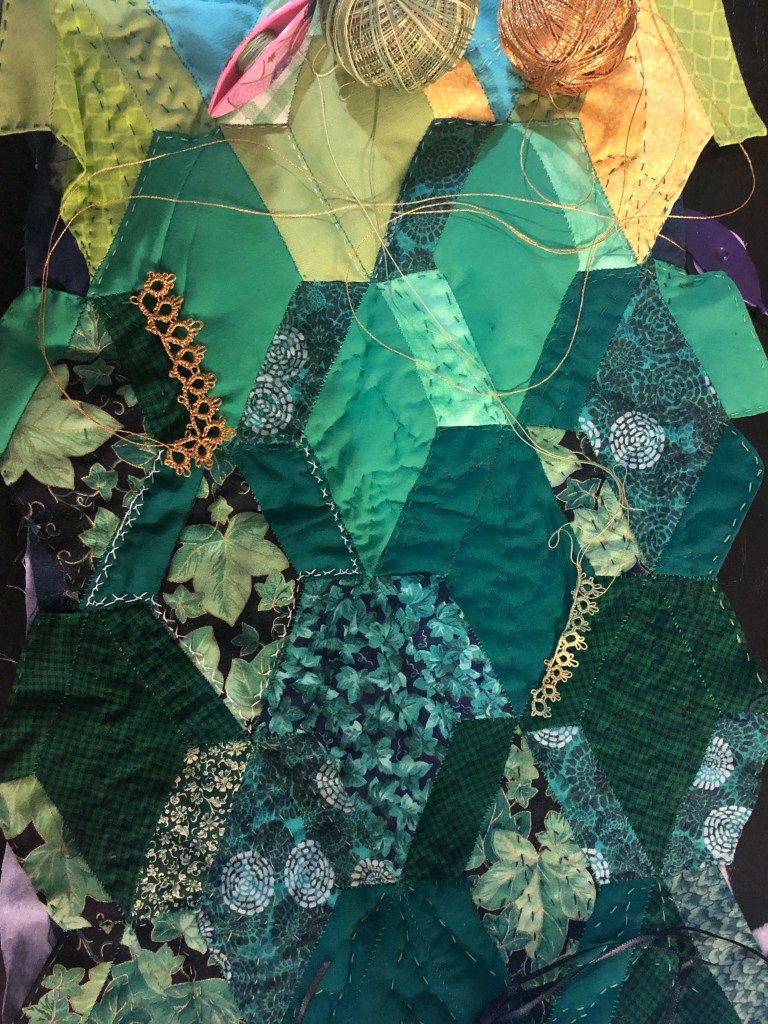
I did, however, add a bee.
Process: how to secure the tool roll-up
Finally, I experimented with closures. I initially thought I would make buttons and buttonholes by which to close the tool holder. By the late stages of construction, I realized that the less pretty but more practical approach would be loops of elastic.